Grilled cheese sandwiches are probably one of the easiest, most classic sandwich recipes ever invented. Taking a photo of one is sometimes another story.
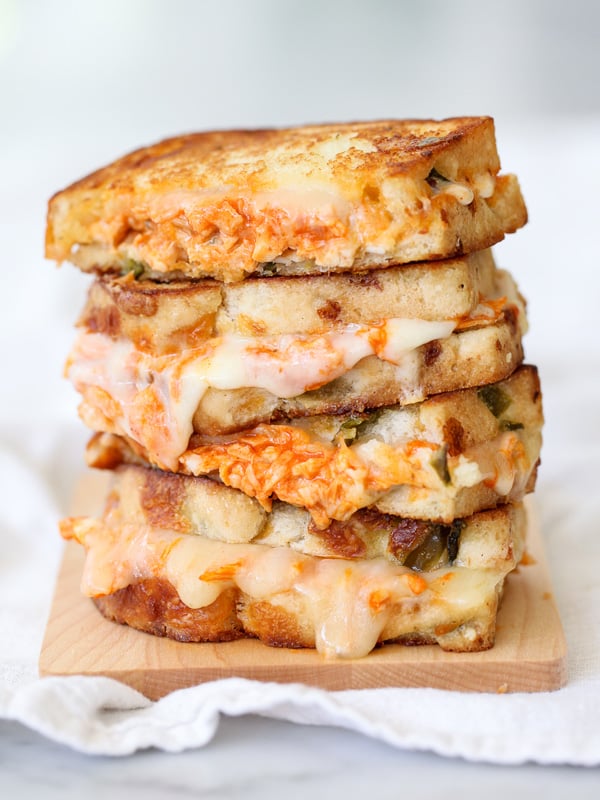
You know how the recipe goes: 2 slices of cheese, two slices of bread, 2 slathers of sweet butter. Seriously, can comfort food really get any better? Okay, maybe when dipped in homemade tomato soup, but that’s kind of a given.
Then you have us recipe makers who just can’t seem to leave well enough alone. We simply cannot just make a simple grilled cheese.
We get all inspired and load on stuff like bacon, lobster, strawberries and definitely avocado. Sometimes they’re even healthified with trendy foodie ingredients like kale and shiitake mushrooms or begging-for-5-napkins-or-more buffalo chicken.
And that’s where the fun really begins.
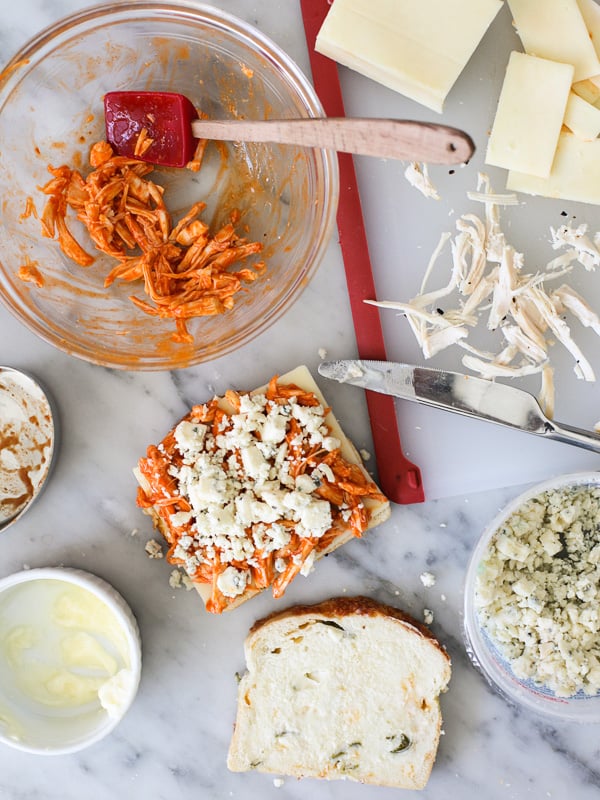
I’ve told you guys about my luck in the draw of being a judge for Wisconsin Cheese’s Grilled Cheese Academy Recipe Showdown. It’ll be my second time around of eating my way through some seriously stacked gooey wonders and because I would love to see you win the contest (entry deadline is May 12) I thought a few tips on how to take an epic photo of your sandwich and wow the judges from the very first look just might be in order.
So what makes a grilled cheese sandwich look totally enticing and how in the heck do you take a picture to say, “Hey, I’m the best grilled cheese and you should totally pick me?” The answer, obviously, is melty cheese.
But taking a photo that captures your perfectly melted goodness is far easier said than done.
Now, I’m far from being a grilled cheese expert who has melted cheese running through her veins, but I have picked up a few tips along this food blogging path of taking photos of a grilled cheese sandwiches and I sometimes get asked if I can share them. Sure I do, and for sure.
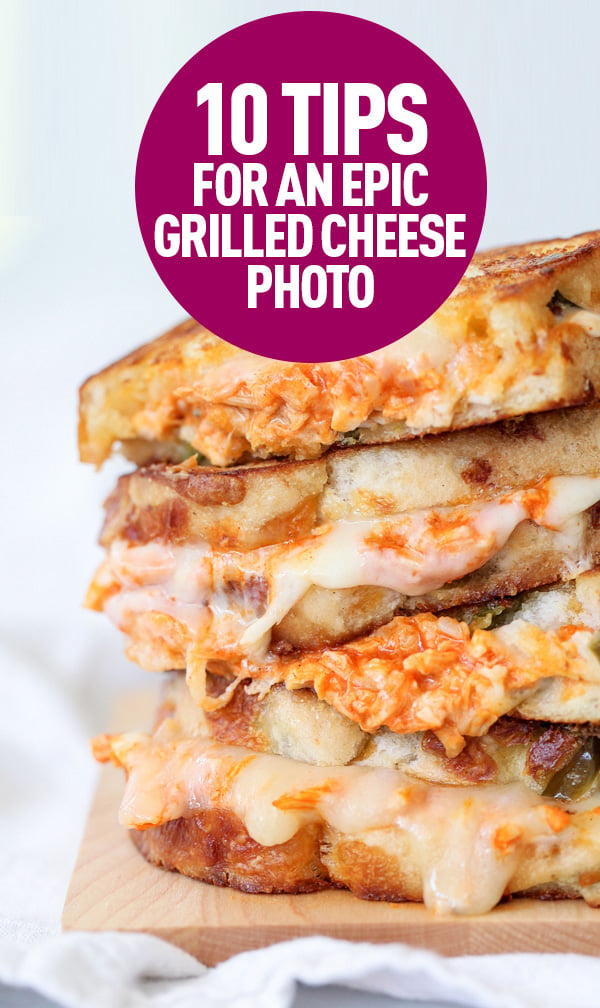
10 Tips for Taking an Epic Grilled Cheese Photo
1. What kind of bread do you use?
While there’s nothing like the basic, old fashioned white sandwich bread for the perfectly-grilled-tomato-soup-dipping-grilled-cheese-from-the-all-night-diner, I’ve found that a sturdier bread like sourdough is easiest to work with when it comes to taking photos. That way the sandwich doesn’t fall apart as you’re moving it around to get the best angle or become too limp and droopy thanks to the heat of the gooey insides.
The jalapeño bread in the Buffalo Chicken Grilled Cheese recipe I’m sharing at the end of this post stood up well, but definitely keep an open mind about using other hearty breads too.
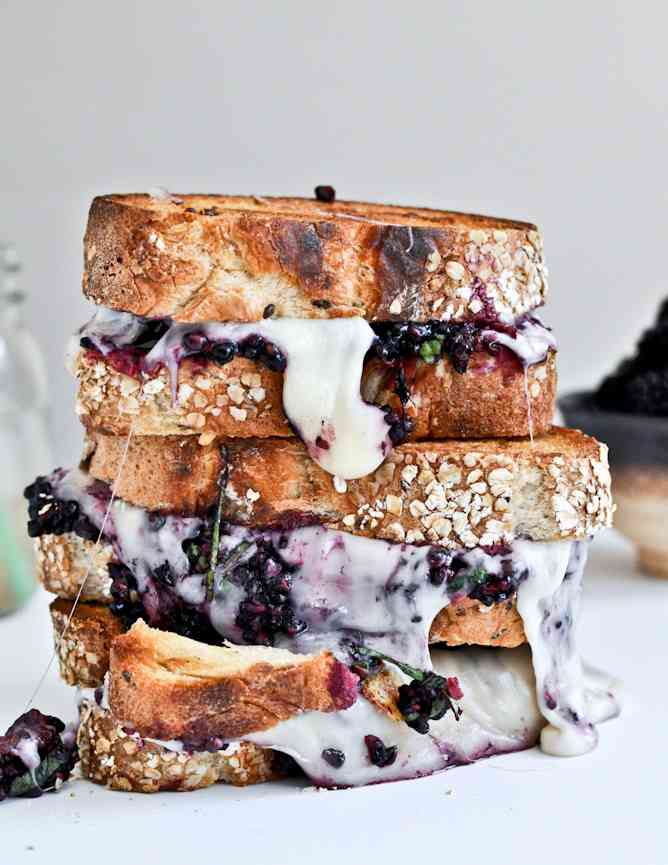
Jessica of How Sweet Eats’ Grilled Fontina and Blackberry Basil Smash uses a sturdy but oat-laced wheat bread to add variety and texture to the cheese that drapes the side of it. Threads of slinky cheese are always good. Recipe here.
2. So, should I use thick slices of bread?
Not always. I’ve used super thick brioche but I think I like a thinner slice of bread so it creates a sturdy base but doesn’t compete with the sandwich fillings, especially when you have a simple cheese sandwich that can tend to look flat. It’s more about the ooze. I also use smaller loaves of bread that yield smaller slices and smaller sandwiches because they tend to photograph better for me.
3. How do you get the cheese to still look hot and gooey?
With grilled cheese, the secret is to be ready and to be fast. I set up my shoot area, surfaces, plates, and whatever props I’m planning on using before I even start making the sandwich. Then I’ll do a few test shots with a couple of pieces of bread as a stand in so I can dial in my lighting. I’ve started using my tripod a lot more so I can move quickly and control my shooting environment as much as I can.
“Have everything prepped and ready to go so you’re ready photograph and don’t end up with cheese that’s too solid.” — Parmesan Crusted Pesto Grilled Cheese from Maria from Two Peas and Their Pod
4. What do you do when your cheese doesn’t look melted anymore?
This is a trick I recently figured out, taking it from watching cheeseburger episodes of Diners Drive Ins and Dives. When your cheese starts to seize, gently lift it back into the fry pan, turn it up to medium high and once it gets warm, add a dash of water to the pan and quickly cover it with a lid to trap in the steam. Let it cook for 30 seconds or until the cheese is back to melted stage, then re-plate and start shooting again.
“The food stylist of my new book used a vintage paint stripper to heat the cheese when it started to solidify. It warmed the cheese up and kept it looking gooey.” — Grilled Chicken With Spinach and Melted Mozzarella Gina from Skinny Taste
**I couldn’t find a vintage paint stripper online but I imagine a heat gun would work well. – Heidi
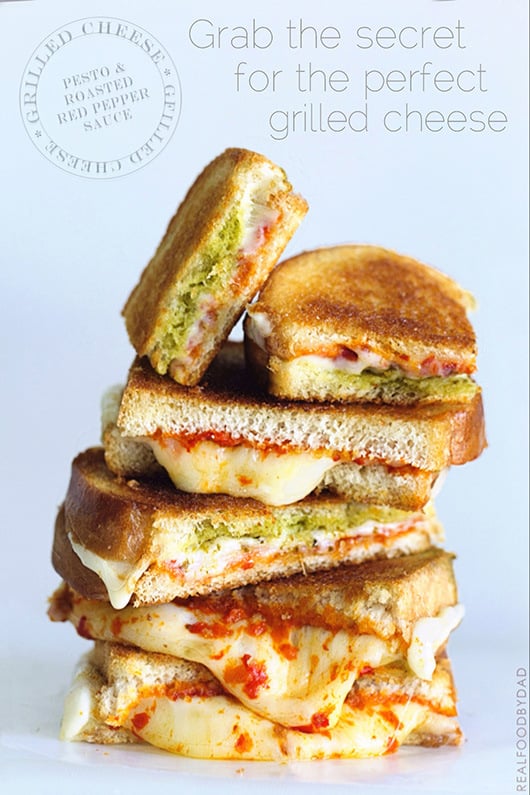
Read Food by Dad has the melty factor figured out in his Roasted Pepper and Pesto Grilled Cheese. Recipe here.
5. How do you arrange the sandwiches on the plate and what do you set it on?
I think its best that whatever you use, use a small version. A small plate, one the sandwich just fits onto, a small cutting board, a small baking sheet or even a piece of parchment paper so your props don’t overwhelm your sandwich.
“Stack the sandwiches so they look taller for the ooze down the sides.” — Spicy Sausage Pasta from Amanda of Kevin and Amanda
6. What about props in your pictures?
I try to make my sandwiches the center of attention, and use minimal props. That’s just me—there are plenty of great photos that use more elements in their photos. Just remember to always make the sandwich the focal point so the eye knows where to look and you aren’t ping ponging around the photo. Also, no fake flowers or wild patterns, please. Who wants to distract from the glorious sandwich?
7. How do you cut your sandwiches?
If my sandwich is full of extra fillings and I go to cut it in half, sometimes the goods mush out all over the sides and the top of the sandwich ends up flattened out like a pancake. To combat that potential for disaster, I’ll place the tip of a sharp knife in the center of the sandwich and in one stroke, firmly cut down toward me. Then I’ll flip the sandwich around and repeat on the other side. Or I’ll follow Ali’s tip at the bottom of this post. Sometimes I cut the sandwiches on the diagonal, sometime straight in half, usually depending upon the shape of the bread. you can feature the side with the crust, or the middles, stacking it high, or propping one half on the other.
“A little food styling trick I leaned: don’t use a knife to slice the sandwich all the way through. Instead, cut it half way and then tear the sandwich the rest of the way so it’s oozy gooey.” — Prosciutto Pineapple and Pesto Panini from Ali of Gimme Some Oven
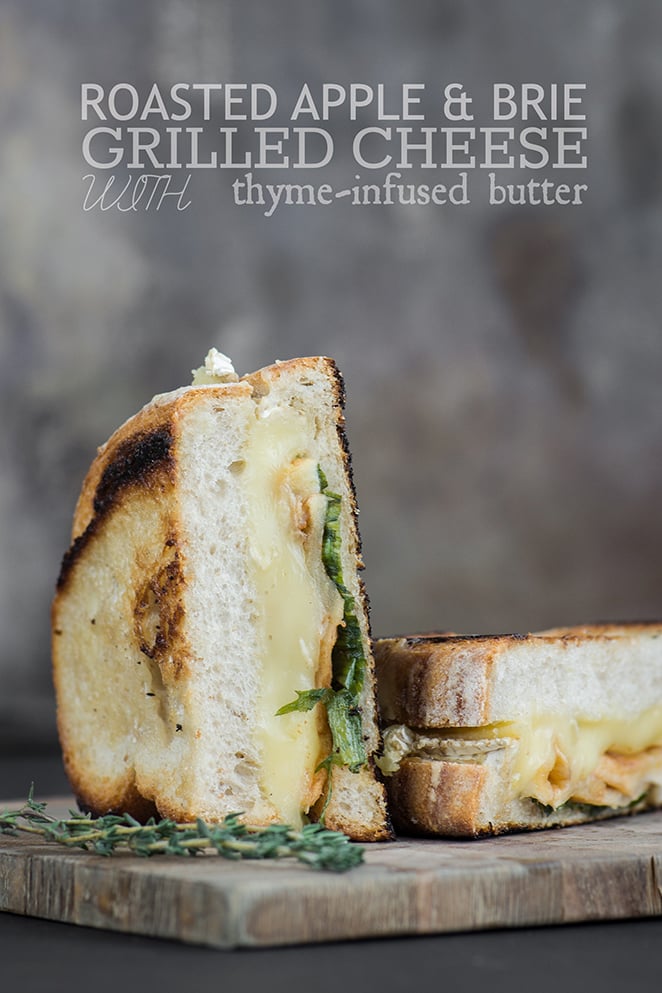
Propping the sandwich on its side is a different way to change up the stacked sandwich routine so long as your sandwich is firm. This Roasted Apple and Brie Grilled Cheese from Kailleys Kitchen is a prime example. Recipe here.
8. How do you get the cheese and the ingredients to look good once it’s been cut?
I try to cook my sandwich until it just starts to melt, then cut it, then let the cheese start to ooze. Sometimes the ingredients on the inside can get hidden under the melted cheese so an extra tuck of an ingredient here and there is perfectly acceptable. If you’re fast and the sandwich is hot, the cheese will continue to melt as you take photos so I let gravity do it’s job. If the cheese isn’t melting enough you can always repeat tip #4 above or see Gina’s tip after this list. But really, it’s about finding a style you like and practicing.
“Use two different cheeses so there’s fun variation in colors.” — My Kind of Grilled Cheese from Jenny of Picky Palate
9. How do you light the sandwiches in your photos?
I always use natural light and set my sandwich near a window. My kitchen gets a lot of light so I’m really lucky. But really, all you need is a window where you can turn the cheese toward the light source so it gets plenty of attention.
10. Should I take the photo up close or far away?
For the Grilled Cheese Academy contest we’d love to see the whole sandwich so we can really get a look at your amazingly talented, delicious concept in its entirety. I usually do 3-4 variations when I photograph my sandwiches, with one version straight on, one version looking like you’re flying an airplane and coming in for a landing and an overhead shot, just to look messy. Other angles are fun to play with too but keep the sandwich you’re star instead of what’s in the background.
If you’re looking for more examples of grilled cheese pics take a gander at my Grilled Cheese Pinterest board.
Remember to create your own grilled cheese recipe and enter by May 12! Because honey, I’m hungry.
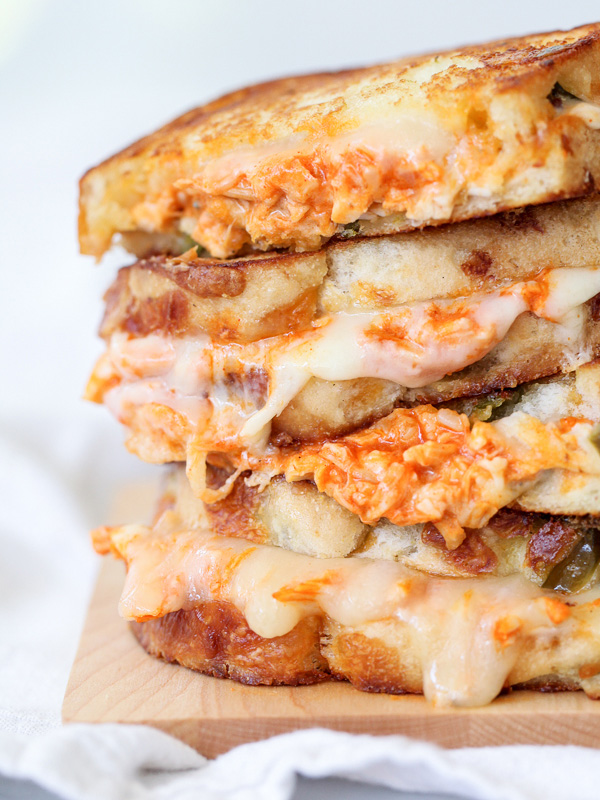
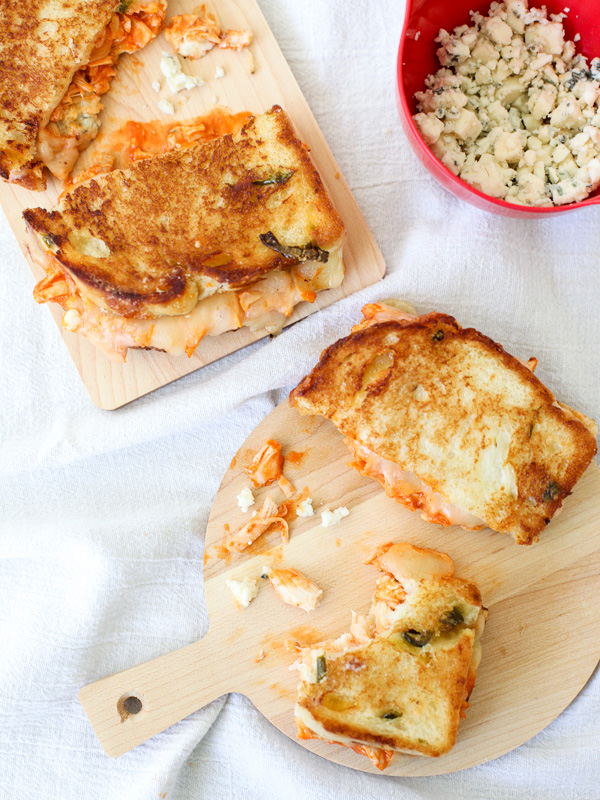
Buffalo Chicken Grilled Cheese and How to Take an Epic Grilled Cheese Photo
Ingredients
- 1 cooked chicken breast shredded I used a breast from a grocery store rotisserie chicken
- 1 cup Frank’s Red Hot Buffalo Wing Sauce
- 8 slices jalapeño bread
- 4 ounces Monterey Jack cheese sliced
- 4 ounces blue cheese or gorgonzola cheese crumbles
- 4 tablespoons butter
Instructions
- In a medium bowl stir together the shredded chicken breast and Frank’s Red Hot sauce. Spread ½ tablespoon of butter on one side of each slice of the bread, then stack buttered sides together. Layer one ounce of Monterey Jack on each bread stack, then dollop of hot sauce slathered chicken breast and then 1 ounce of blue cheese crumbles. Place bread buttered side down in a fry pan over medium heat. Cover with a lid and let cook for 3-4 minutes or until golden.
- Reduce the heat to medium-low and flip sandwich to the other side and cook for 2-3 minutes or until bread is toasty golden and cheese has melted. The second side will cook faster than the first so watch carefully.
- Cut in half and enjoy hot.
